Understanding DPI: How to Upscale Images for Crisp 300 DPI Prints
Published
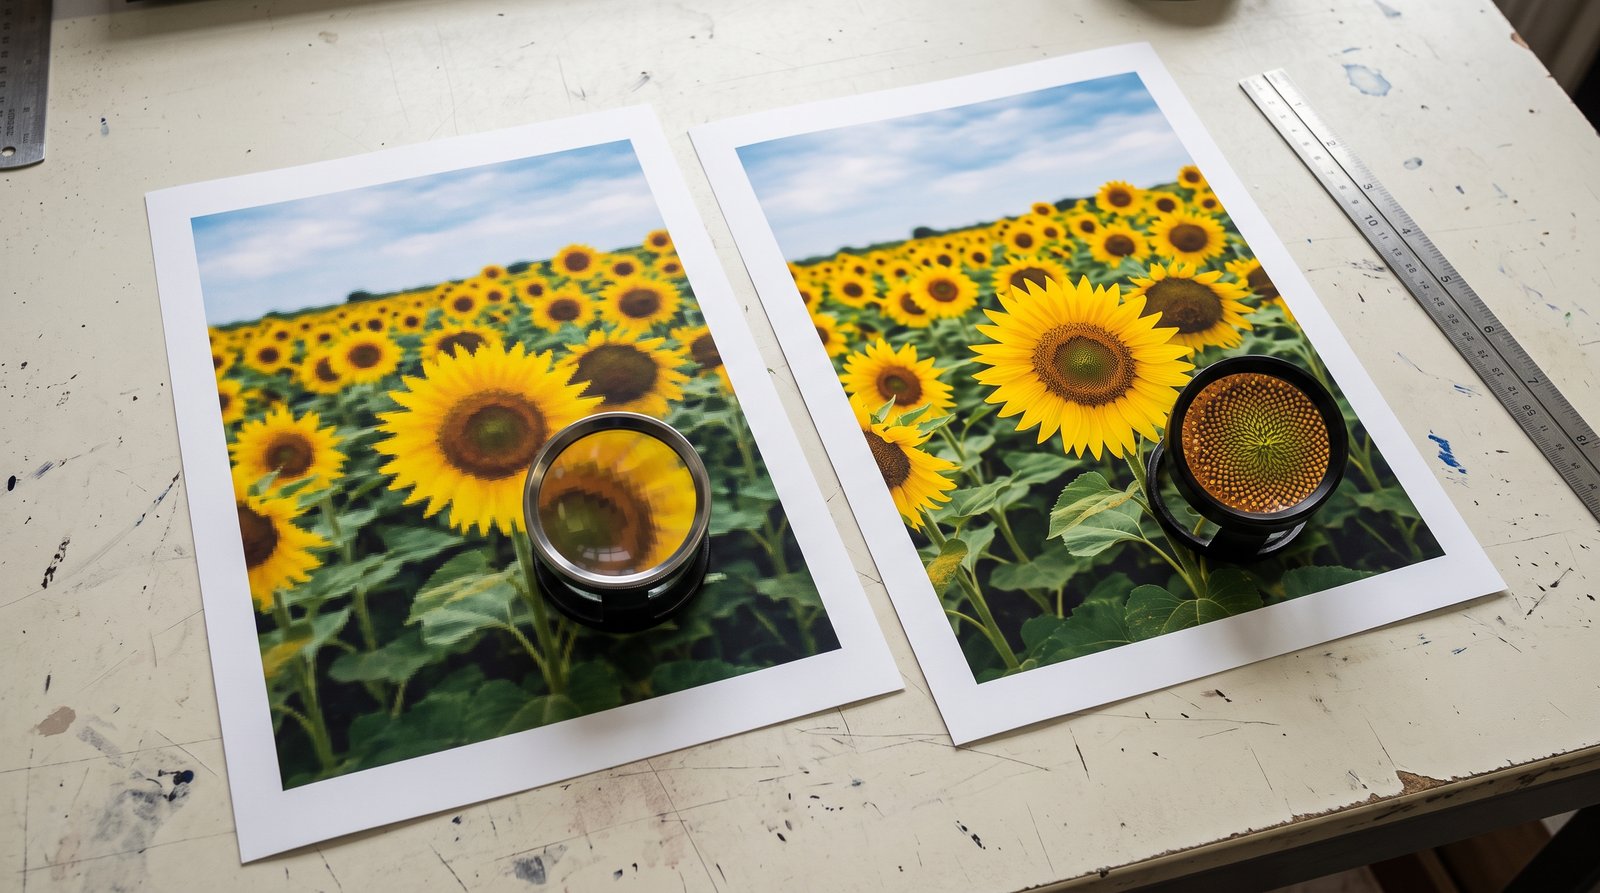
Have you ever taken a photo that looks razor-sharp on your phone screen, only to find that it turns out fuzzy or pixelated when sent to a print shop? The reason usually comes down to DPI (Dots Per Inch).
What is DPI?
DPI stands for Dots Per Inch, measuring the density of ink droplets printed across one physical inch of paper.
- Web and displays typically use 72 to 96 DPI.
- Professional printing (fine art prints, merchandise, magazines, posters) requires 300 DPI.
This means that an image with 900 x 600 pixels will display prominently on a laptop monitor, but at 300 DPI it only prints out at 3 x 2 inches (roughly the size of a business card).
Minimum Pixel Dimensions for Common Print Formats
To check if your picture can be printed clearly at 300 DPI, multiply the target print dimensions in inches by 300:
| Print Size | Metric (cm) | Required Pixels at 300 DPI |
|---|---|---|
| 4 x 6” Photo | 10 x 15 cm | 1200 x 1800 px |
| 8 x 10” Portrait | 20 x 25 cm | 2400 x 3000 px |
| A4 Document | 21 x 29.7 cm | 2480 x 3508 px |
| A3 Poster | 29.7 x 42 cm | 3508 x 4960 px |
How to Prepare Low-Res Images for Print
If your original photo is smaller than the required resolution, simply resizing it in basic software will produce blurred edges.
Instead, open Crispix, set Upscaling method to AI, Output size to x4, DPI to 300 and File format to PNG, then use the built-in print size calculator to confirm the result is big enough. The neural network generates missing texture and detail, boosting the file up to 4x resolution while maintaining sharp edges suitable for printing.