Sharpen, Denoise or Upscale? Picking the Right Fix for Your Photo
Published
“Make it clearer” can mean very different things. A grainy night photo, a slightly out-of-focus portrait and a tiny thumbnail each need a different tool, and using the wrong one can make the image worse.
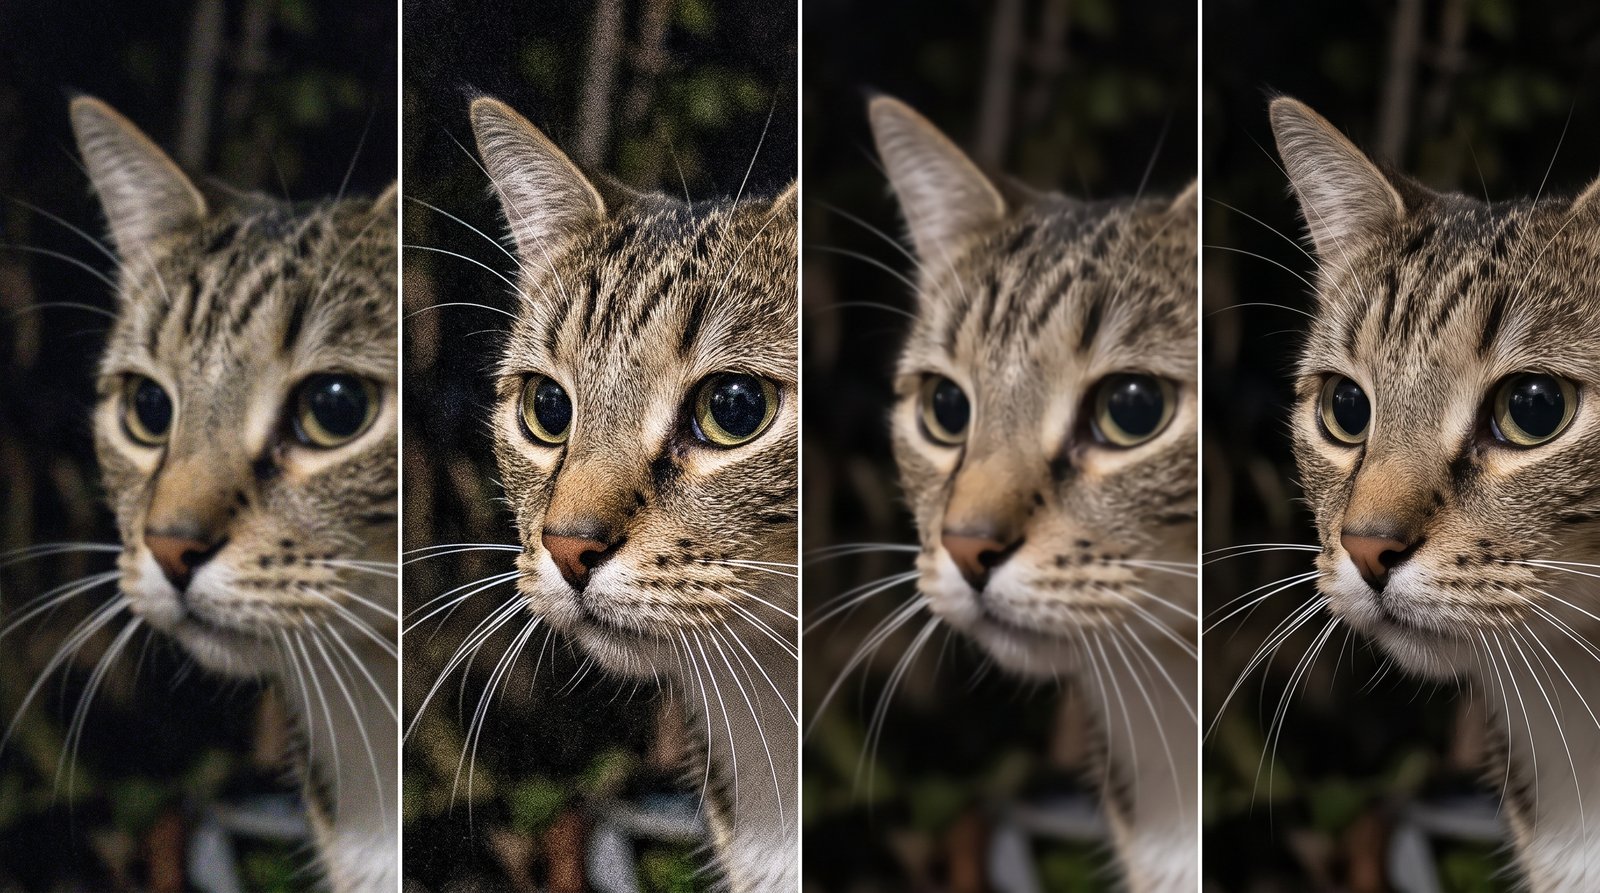
Sharpen: Boost Edge Contrast
Sharpening increases contrast along edges so details look crisper. It does not add pixels or real detail.
- Best for: photos that are already the right size but look slightly soft.
- Watch out for: bright halos around edges and amplified noise when pushed too far.
Denoise: Remove Grain and Compression Noise
Denoising smooths random speckles from low light, high ISO or JPEG compression while trying to keep edges.
- Best for: night shots, indoor phone photos, images received through chat apps.
- Watch out for: a waxy, over-smoothed look on skin and textures.
Unblur: Recover Softness
Unblurring combines AI reconstruction with stronger sharpening to recover detail in mildly blurred photos.
- Best for: slight focus misses and gentle motion blur.
- Watch out for: heavy blur. No tool can fully recover a badly out-of-focus face.
AI Upscale: Add Resolution
AI upscaling increases pixel count 2x, 4x or to 4K while reconstructing realistic detail.
- Best for: small images, printing, wallpapers, cropped photos.
- Watch out for: invented detail on extremely small sources.
Quick Decision Table
| Your photo looks… | Try first |
|---|---|
| Grainy or speckled | Denoise |
| Blocky with halos after chat apps | AI at x1 (artifact removal) |
| Slightly soft, correct size | Sharpen |
| Mildly blurry | AI x2 plus Sharpen (Unblur) |
| Too small | AI upscale x2 / x4 |
| Small and noisy | Denoise, then AI upscale |

Combine Them in Crispix
In Crispix you can stack these fixes in one pass: choose an Upscaling method and Output size, then fine-tune the Denoise and Sharpen sliders. Use the Before/After slider to find the point where detail improves without halos or plastic-looking skin.