How to Upscale Pixel Art Without Blurring It
Published
Pixel art is the one kind of image where “smarter” upscaling usually makes things worse. Every pixel was placed on purpose, and the blocky look is the style.
Why Pixel Art Gets Blurry
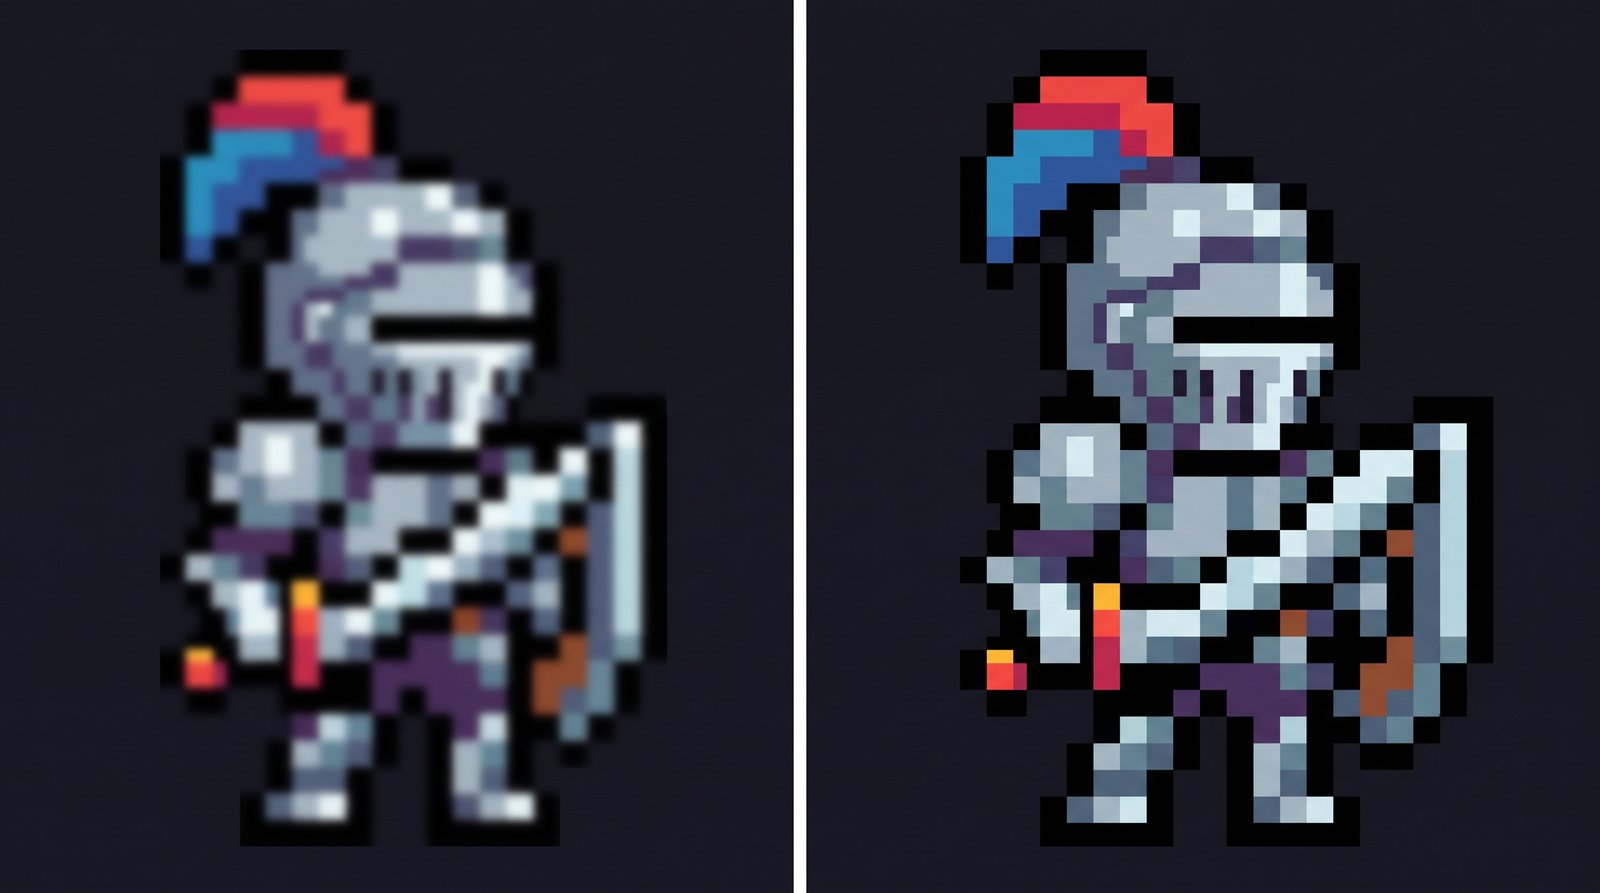
Most apps resize with bilinear or bicubic filtering, which blends neighbouring pixels. On a 32 x 32 sprite this turns hard edges into soft, muddy gradients. AI photo models are no better: they try to add realistic texture and round off the deliberate stair-step edges.
Use Nearest-Neighbor and Integer Scales
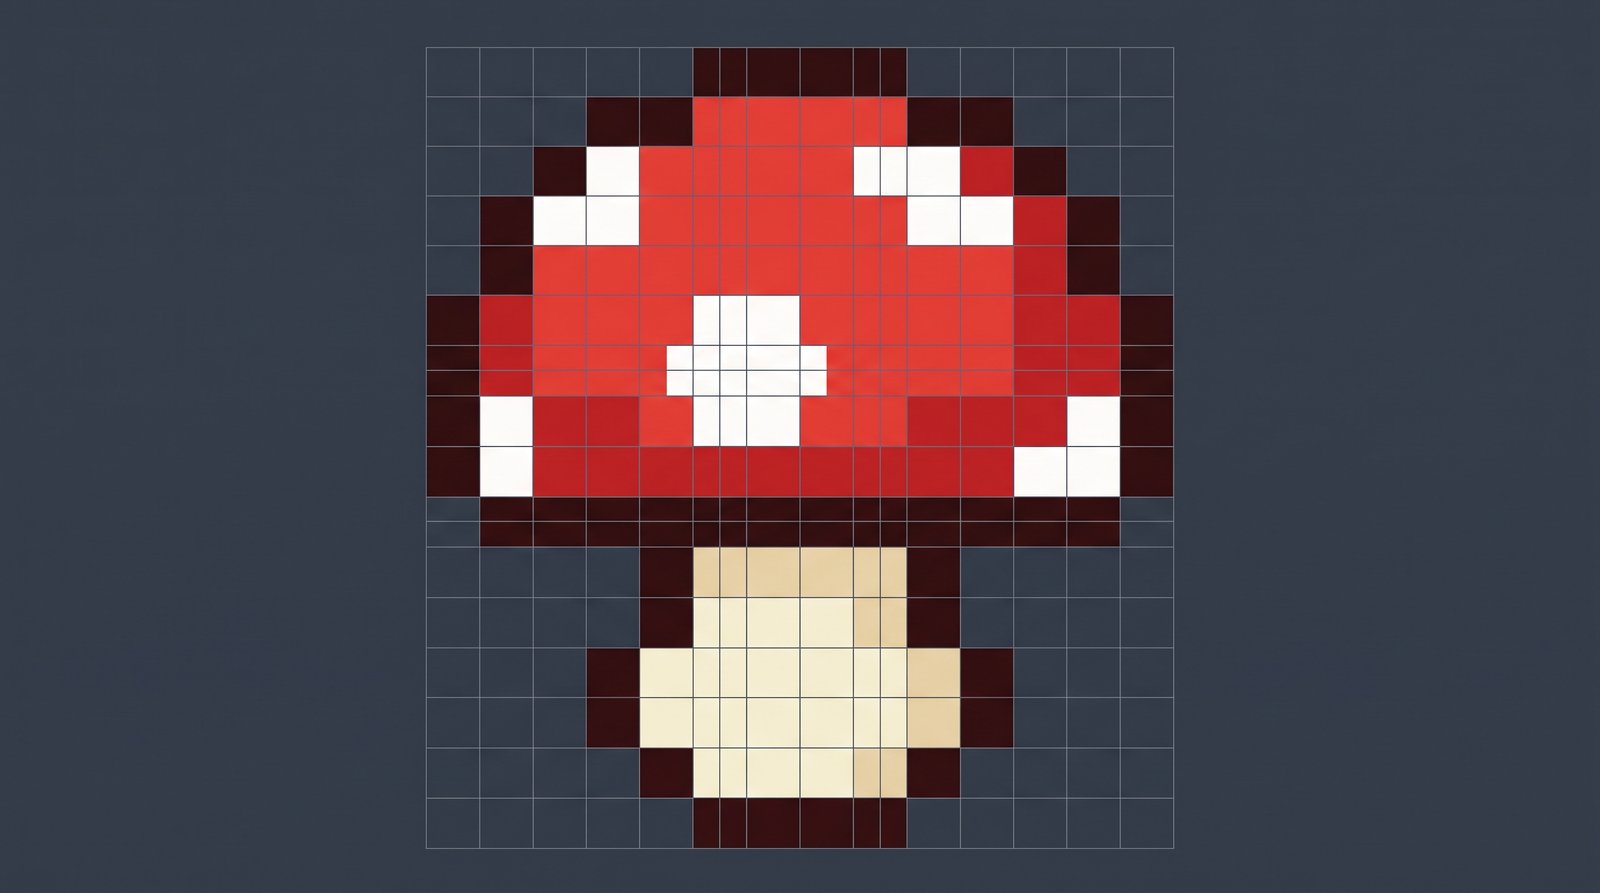
The correct approach is nearest-neighbor scaling: each source pixel simply becomes a bigger square of the same colour. Two rules keep it perfect:
- Use whole-number factors such as 2x, 4x or 8x. A 2.5x scale makes some pixels wider than others.
- Never apply sharpening or smoothing afterwards.
| Original sprite | Scale | Result |
|---|---|---|
| 16 x 16 | 8x | 128 x 128 (icons, avatars) |
| 32 x 32 | 8x | 256 x 256 |
| 320 x 180 | 8x | 2560 x 1440 (QHD) |
| 320 x 180 | 4K (12x) | 3840 x 2160 (4K) |
Upscale Pixel Art with Crispix
- Open Crispix and drop in your sprite or tileset.
- Set Upscaling method to Pixel and leave Sharpen and Denoise at zero.
- Choose an Output size of x2, x4, x8 or 4K, then click Enhance.
- Set File format to PNG and download to preserve exact colours and transparency.
Common Uses
- Game store pages and trailers that need large, crisp screenshots.
- Social media avatars and emotes.
- Printing sprites on posters, stickers or T-shirts.
Avoid JPEG for pixel art: compression adds noise around every hard edge.