How to Make Blurry Screenshots Sharp and Readable
Published
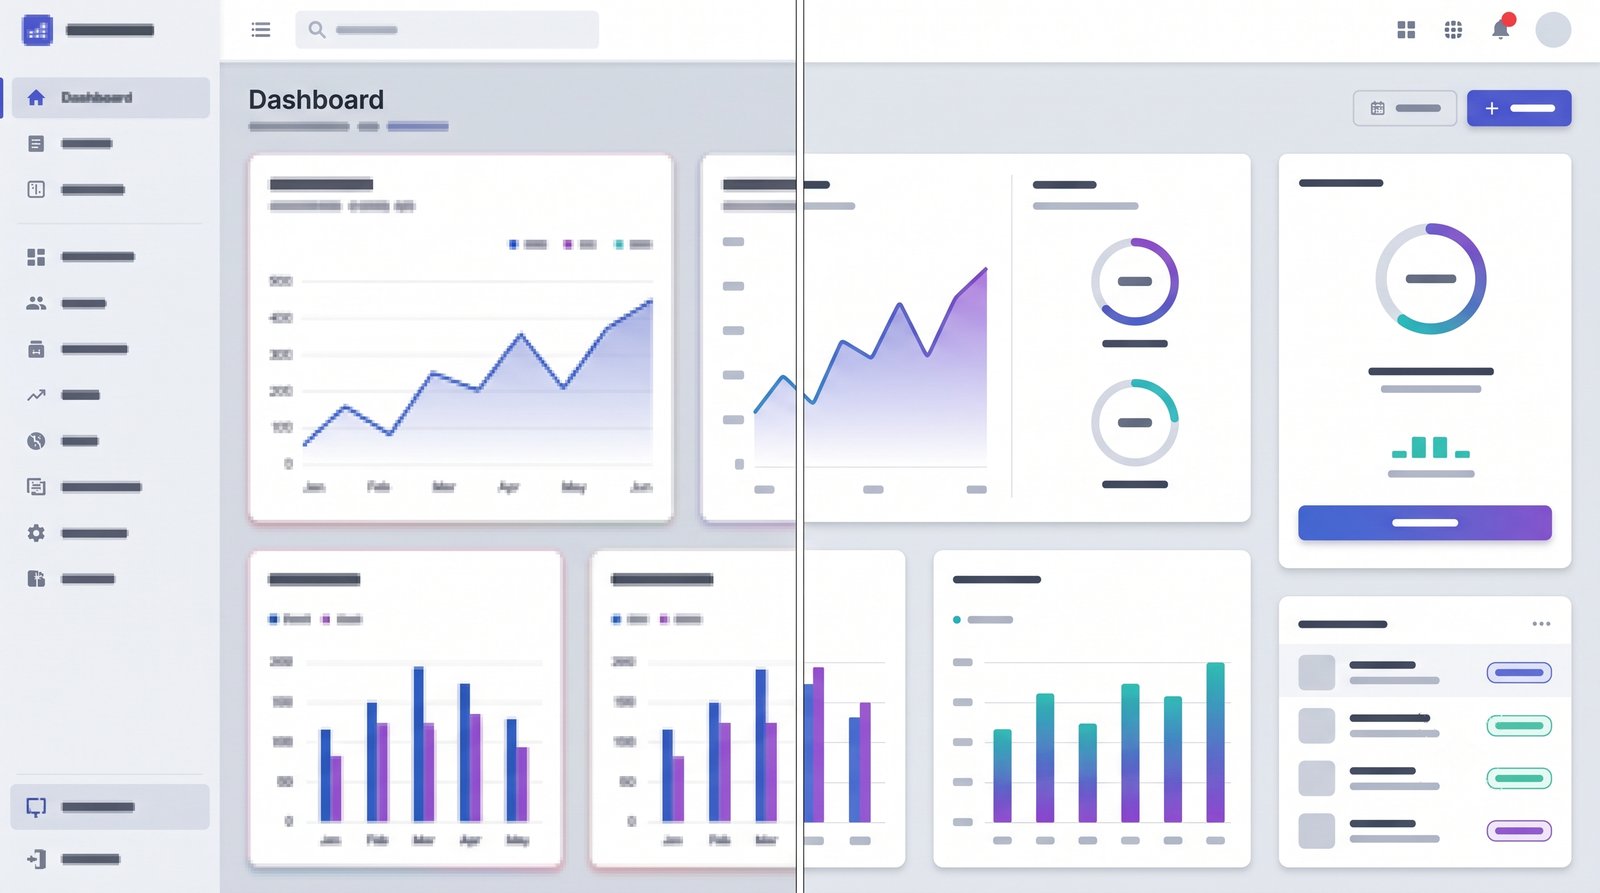
A screenshot that looked fine on your screen can turn into a fuzzy mess once it is resized for a slide, pasted into a document or forwarded through a chat app. Small text is usually the first thing to go.
Why Screenshots Get Blurry
- Low-DPI displays: A screenshot from a 1080p laptop has far fewer pixels than one from a Retina or 4K screen.
- Resizing in slides or docs: Stretching a small image to fill a slide smears text.
- Chat and social compression: JPEG compression adds ringing around letters and blocky noise on flat UI backgrounds.
- Zoomed-in crops: Cropping a tiny region of a screen leaves very few pixels.
Why Text Needs Special Care
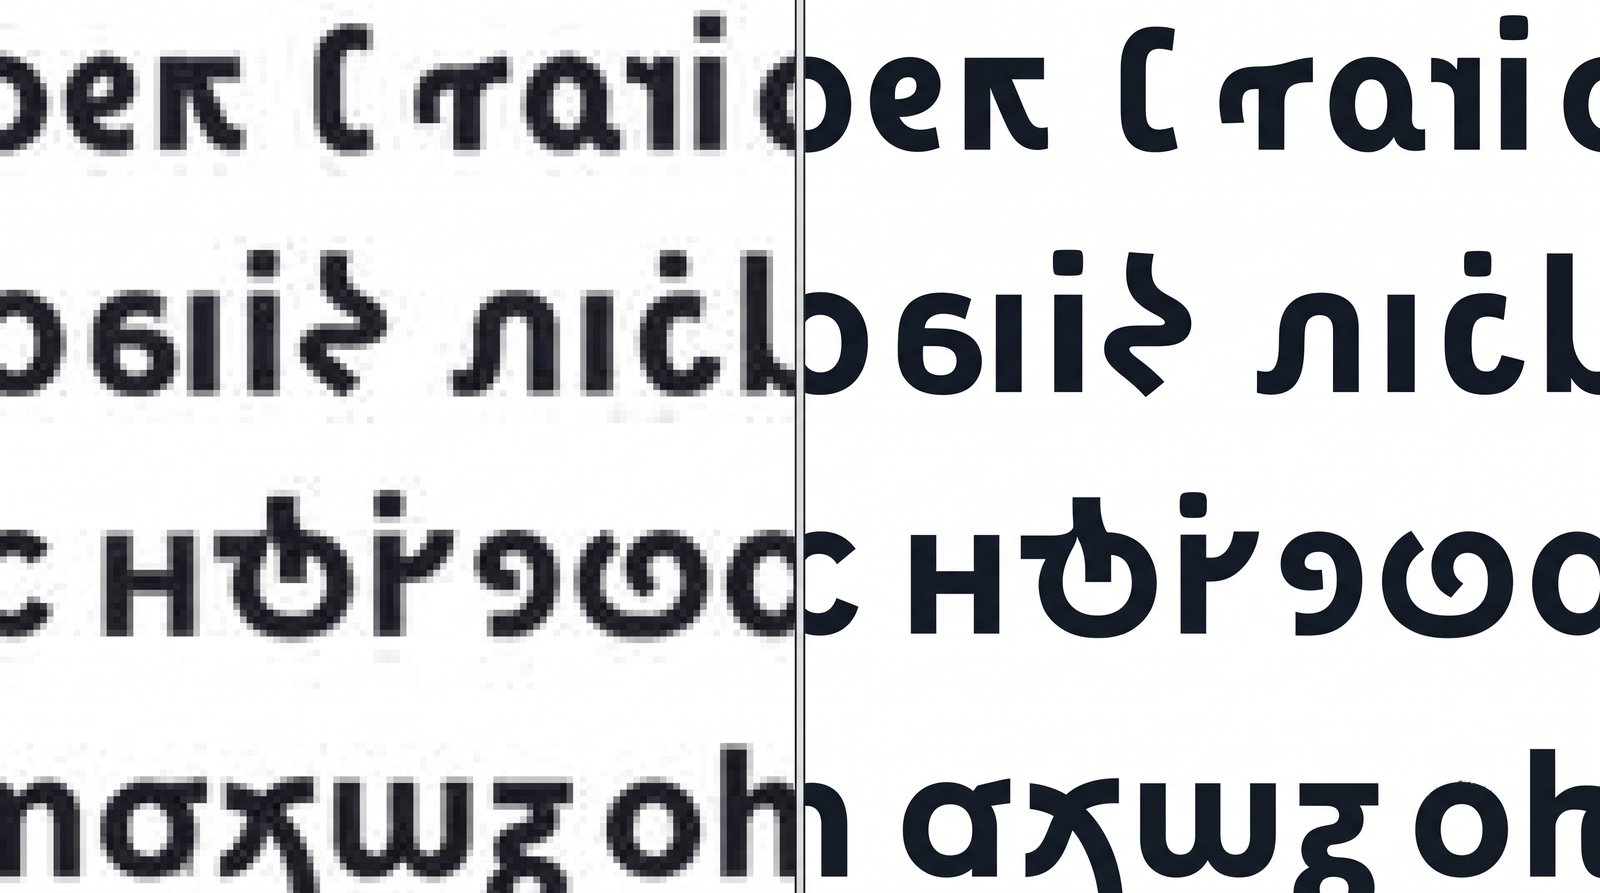
Text and UI elements are made of thin strokes, sharp corners and flat colour fills. Generic sharpening adds bright halos around letters, while photo-oriented models can invent texture on plain backgrounds. A screenshot-focused mode keeps strokes thin and backgrounds clean.
Enhance a Screenshot with Crispix
- Open Crispix and paste or drop your screenshot.
- Set Upscaling method to AI, Output size to x2, and add a light Sharpen (around 30).
- Click Enhance.
- Zoom into the smallest text with the Before/After slider.
- Set File format to PNG and download to avoid adding new compression.
Prevent Blurry Screenshots in the First Place
- Save screenshots as PNG, not JPEG. PNG keeps text edges lossless.
- Capture at 100% or 200% zoom, not a zoomed-out view.
- Send as a file rather than a photo in messaging apps.
- Don’t upscale inside PowerPoint or Docs. Upscale the image first, then insert it at its natural size.
Because Crispix runs locally, screenshots of private chats, dashboards or internal tools never leave your device.