How to Upscale an Image Without Losing Quality
Published
Enlarging a small photo almost always makes it look worse: edges go soft, textures smear, and fine details turn into blotches. That is not your fault. It is how classic resizing works.
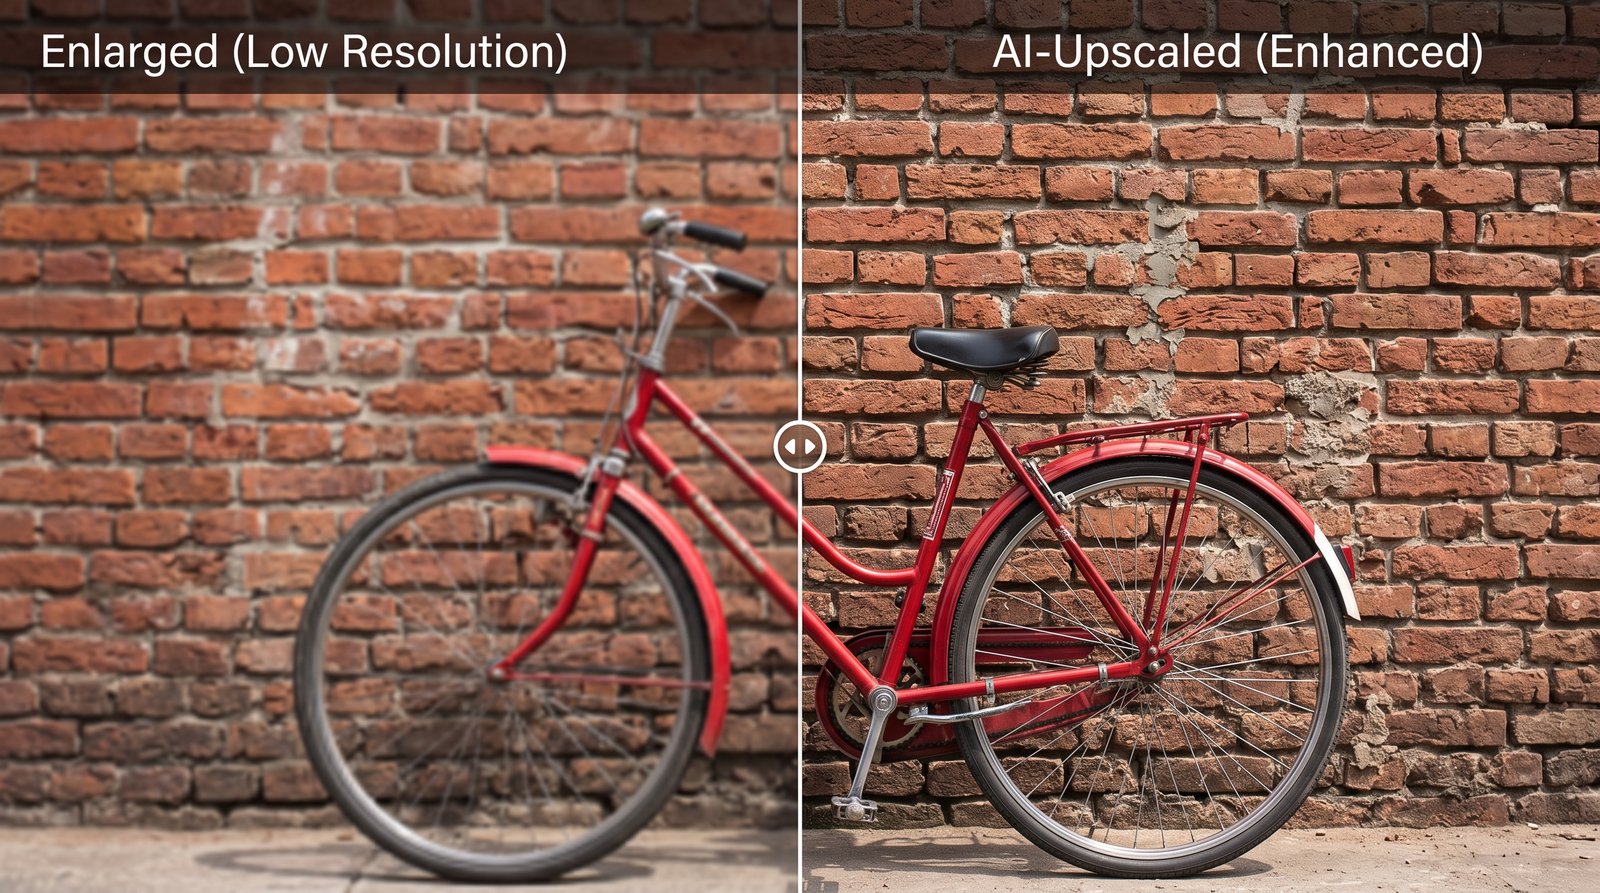
Why Normal Resizing Makes Photos Blurry
When you stretch a 500 px image to 2000 px, the software has to invent 15 new pixels for every original one. Traditional methods do this with simple math:
- Nearest neighbor copies the closest pixel, producing blocky stair-steps.
- Bilinear averages neighbouring pixels, producing a soft, out-of-focus look.
- Bicubic is a smoother average. It is better, but still cannot add detail that was never captured.
All three only interpolate. They spread existing information over more pixels, so the result never contains more detail than the original.
How AI Upscaling Is Different
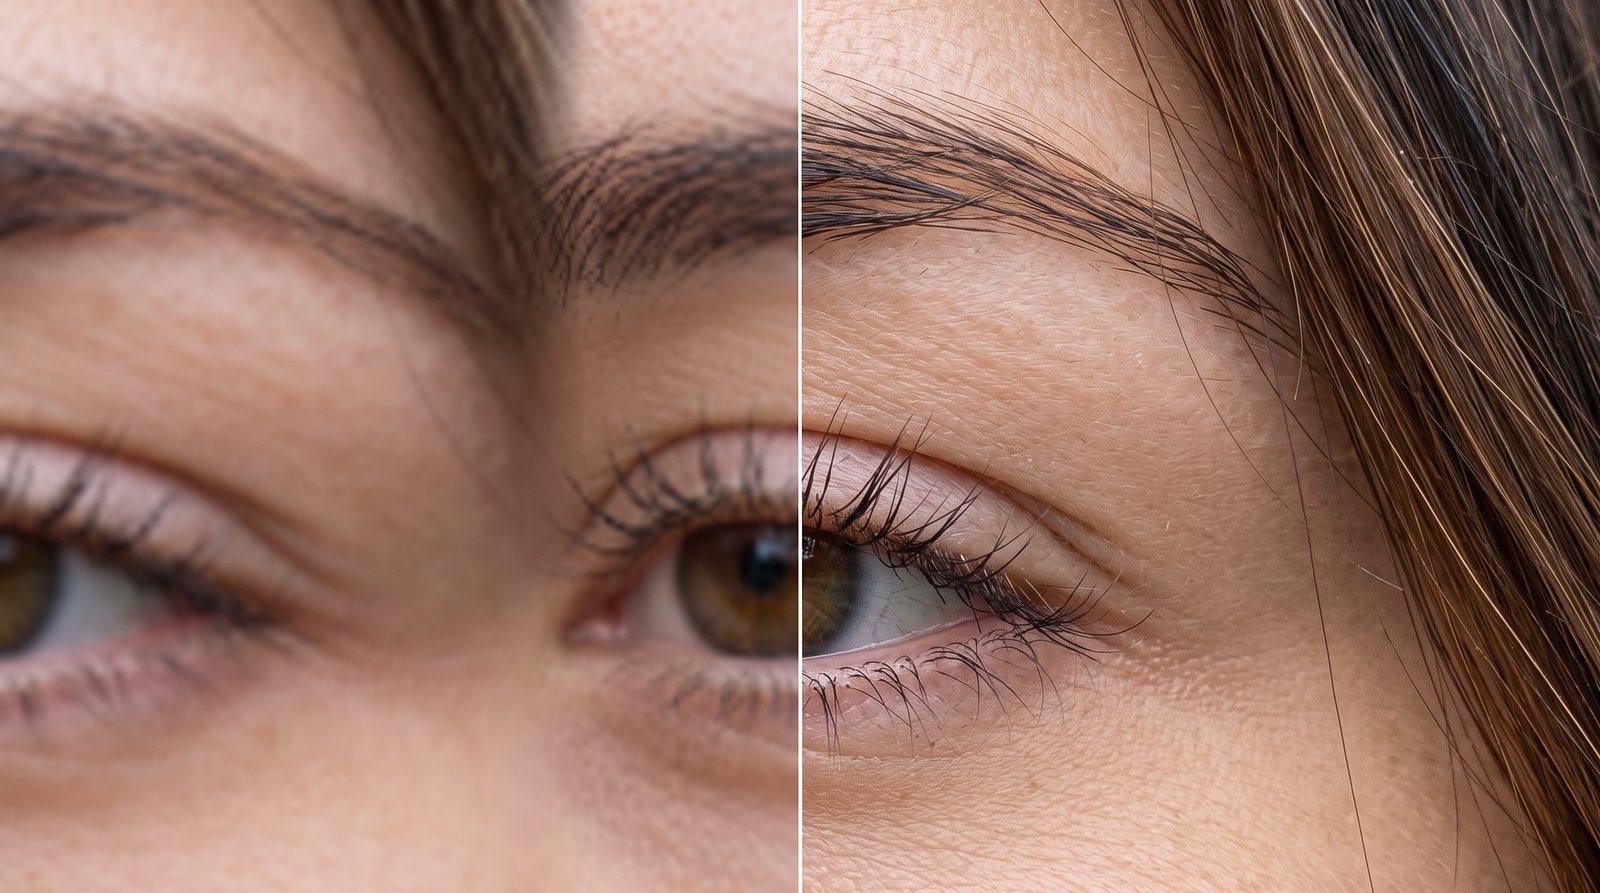
AI super-resolution models such as Real-ESRGAN were trained on millions of pairs of low- and high-resolution images. They learned what real edges, hair, fabric, foliage and text look like, so instead of averaging pixels they predict plausible high-frequency detail.
The result:
- Crisp, continuous edges instead of halos or jaggies.
- Restored texture in skin, hair and surfaces.
- Compression noise removed instead of magnified.
2x or 4x: Which Should You Choose?
| Your goal | Recommended output size |
|---|---|
| Sharper image for social media or a website | 2x |
| Desktop wallpaper or 4K display | 2x – 4x |
| Printing an A4 or larger poster | 4x |
| Very small source (under 500 px) | 4x |
As a rule, pick the smallest scale that reaches the size you need. Higher scales take longer to process and use more memory, and the output is capped at 4096 px on the long edge.
Upscale a Photo with Crispix
- Open Crispix and drop your image onto the page.
- Set Upscaling method to AI, AI model to General (photos), and Output size to x2 or x4.
- Click Enhance.
- Drag the Before/After slider to check edges and textures.
- Click Download to save the full-resolution file.
Everything runs locally with WebGPU and WebAssembly, so your image is never uploaded to a server.
Tips for the Best Results
- Start from the best source you have. The original file beats a screenshot of it, and a screenshot beats a re-shared copy.
- Crop first, then upscale. Removing unneeded areas saves processing time.
- Denoise heavily compressed images before upscaling so the model does not mistake noise for detail.
- Don’t expect miracles from tiny thumbnails. AI can add believable detail, but it cannot recover a face from a 40-pixel blur.